Knitting gauge is key to all knitting. Even the most humble square gets its size from its gauge. Knitting patterns will often include the phrase "to save time, check gauge" or they will tell you to change your needle size "to achieve gauge". And yet, is there a knitter alive who is not guilty of ignoring this advice at least once? It really is true: checking your gauge will save time. However, it is only true if you check your gauge thoroughly and acurately. Even a small difference in gauge can make a garment inches smaller or larger.
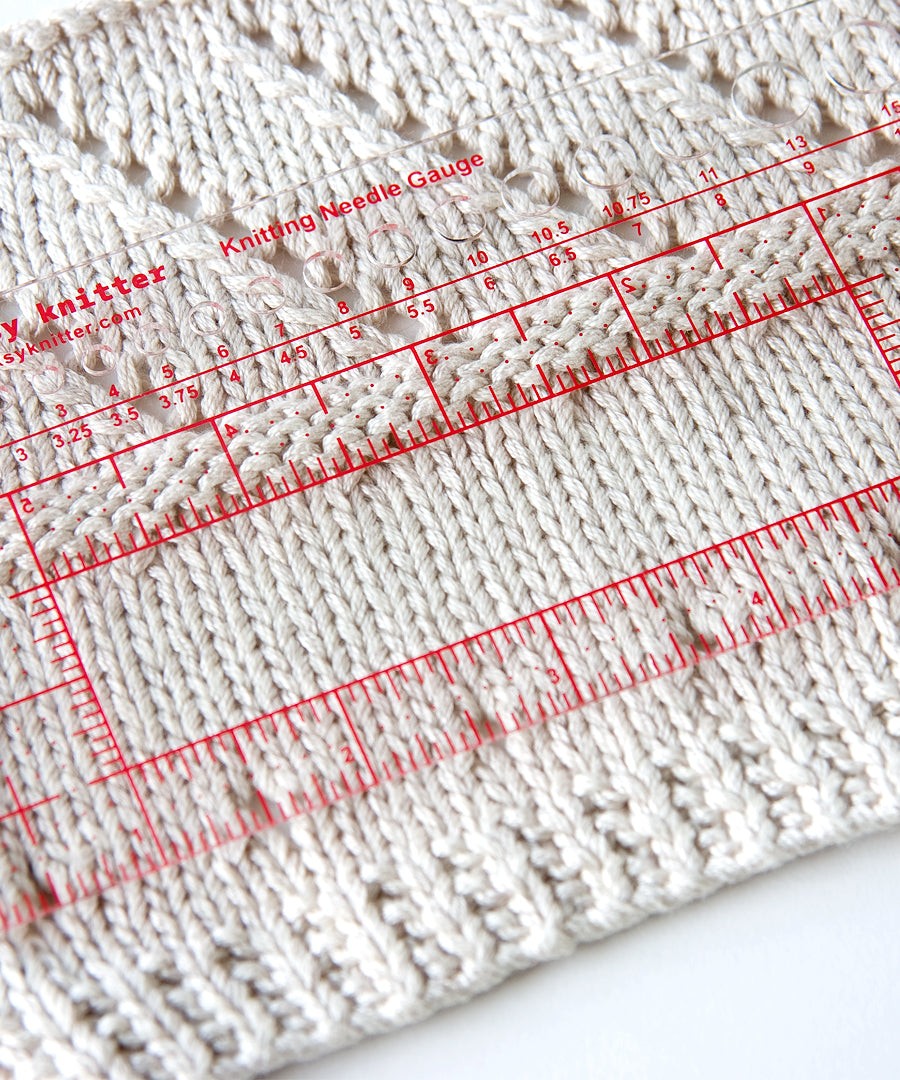
The gauge swatch is a sample square or rectangle, knitted with the yarn and needles you are going to use for your knitted project. Gauge refers to the size of each stitch, and is usually talked about in terms of stitches and rows per inch, or, stitches and rows per 4 inches.
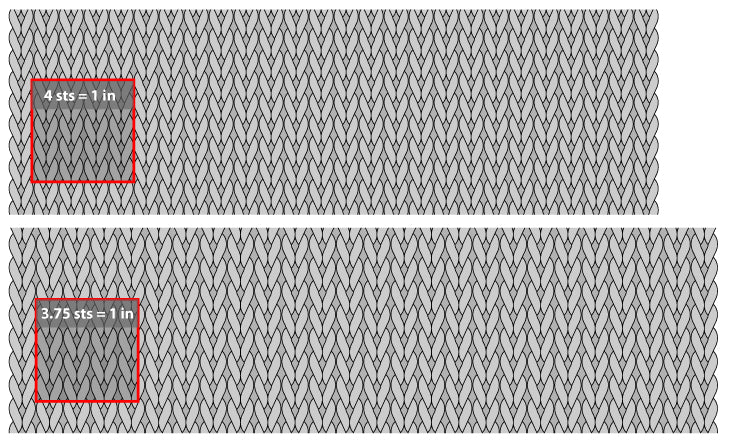
Here's a visual demonstration of the importance of gauge. The top illustration represents 26 stitches with a gauge of 4 sts per inch. The bottom illustration represents a slightly fatter gauge of 3.75 sts per inch over 26 stitches. Note how much larger the bottom illustration is over 26 stitches. Over a large area, the difference would be even more substantial.
The basic gauge swatch
This basic method is good for trying out a yarn to see how it works. It is adequate for projects that don't rely on gauge, like scarves. It is not ideal for garments.
- use the yarn label's suggested needle size
- cast on enough for 5 inches, using the yarn label's gauge. (For example, if the label says 20 sts = 4 inches, cast on 25 stitches)
- work in stocking stitch (or the pattern specified by the pattern) for 5 inches
- bind off, keeping your tension as even as possible
- lay your sample flat, do not stretch it, and count how many stitches and rows fit in 4 inches.
A more thorough gauge swatch
We often have a goal gauge in mind, or we know from personal experience that we knit loosely or tightly.
- adjust your needle size up or down according to your goal gauge. (For example, if the label says 20 sts = 4 inches on 4.0mm needles, and your goal is 22 sts, try a smaller needle, like a 3.5mm).
- sit as you would usually sit when you knit. Posture and tension affect your gauge. (For example, don't work your gauge swatch in the passenger seat of a car if you don't usually knit there. Choose something else to knit on the road trip.)
- cast on enough for 6-8 inches, using the yarn label's gauge.
- work in stocking stitch (or the pattern specified by the pattern) for 6-8 inches
- bind off
- wet-block your swatch
- when the swatch is dry, count how many stitches and rows fit in 4, 5 or 6 inches.
Gauge swatches for knitting in the round
We usually work our gauge swatches flat. However, our gauge working in the round can be a little tighter, especially when working in stocking stitch. The main theory is that most knitters purl a little looser than they knit. (I also think that it has something to do with the turning of the work. At the end of a knit row, when we turn the work to purl, there is a very small amount of slack created. This slack, over a large amount of knitting, relaxes the gauge.)
- Follow the same steps for the thorough gauge swatch, use double-pointed needles or circular needles.
- at the end of each row, transfer the knitting from your right to left hand without turning it, slide your stitches to the right end of the needle. Pick up the yarn (which will be at the left side of the work), drape it loosely across the back of your work, and knit with it.
Making your swatch work a little harder
If there is any texture in the pattern you are using, even if it's a simple ribbing at the edge, test it in your swatch. For example, if you are planning to knit a sweater that uses a smaller needle size for the ribbing, do that in your swatch. Test both stocking stitch and any stitch patterns in your swatch."